PS4 Wireless Goodness for the Vectrex
(
PLAYSTATION 4 <> VECTREX ADAPTER
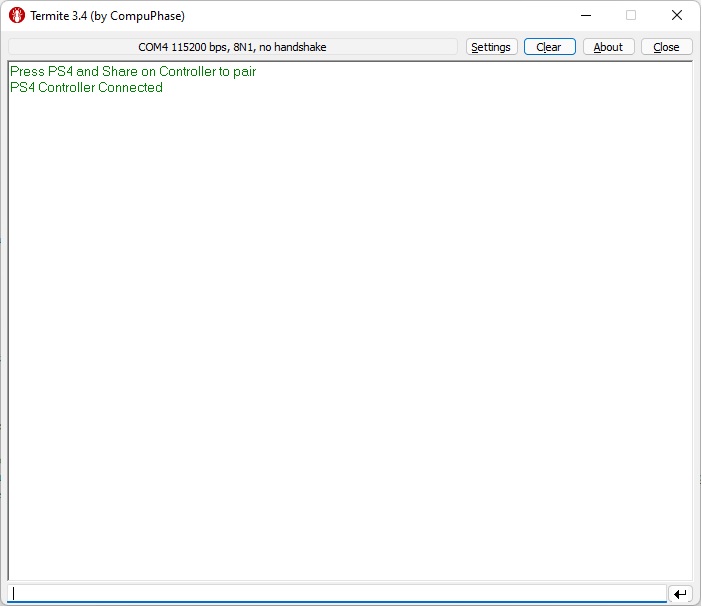
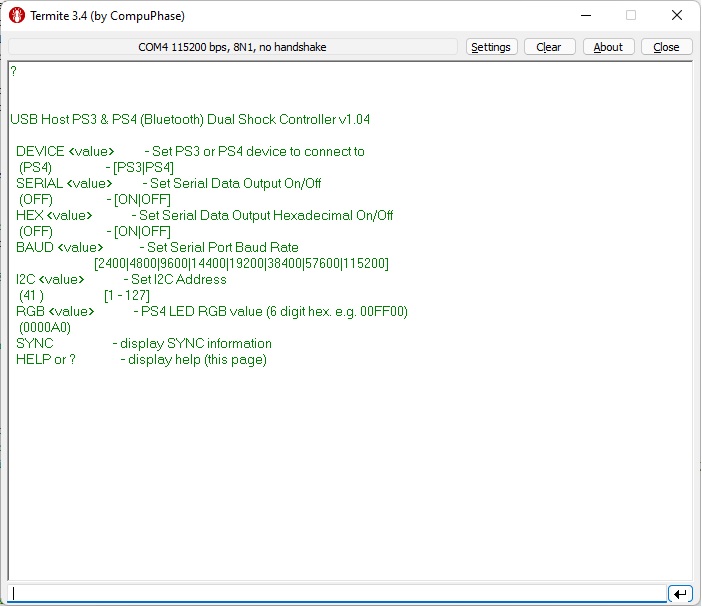
It's really important to note that the screenshot above was taken after I configured the Hobbytronics adapter. In essense, most of the values for each of those config paramters should remain as default from the factory.
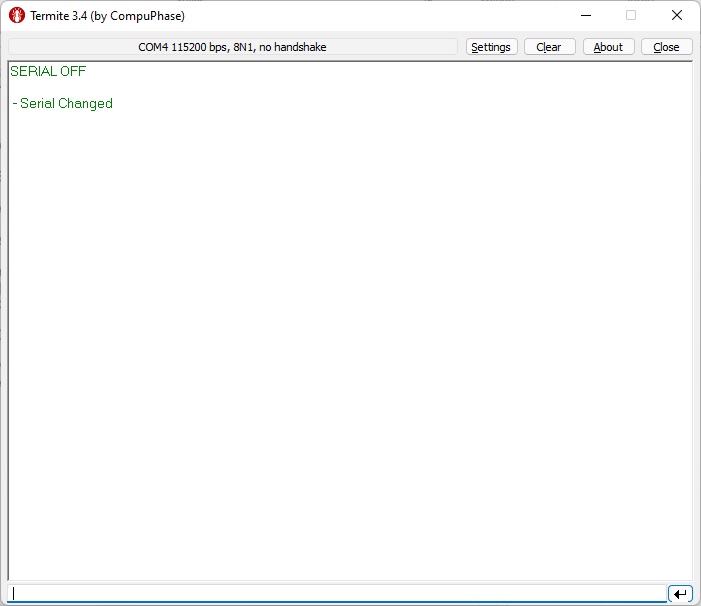
The only exception to that is the "SERIAL" config value. As you can see, it's set to OFF in the screengrab, but it is ON by default from the factory. You need to change this.
Do do this, type SERIAL OFF at the bottom of the screen and hit enter.
The only exception to that is the "SERIAL" config value. As you can see, it's set to OFF in the screengrab, but it is ON by default from the factory. You need to change this.
Do do this, type SERIAL OFF at the bottom of the screen and hit enter.
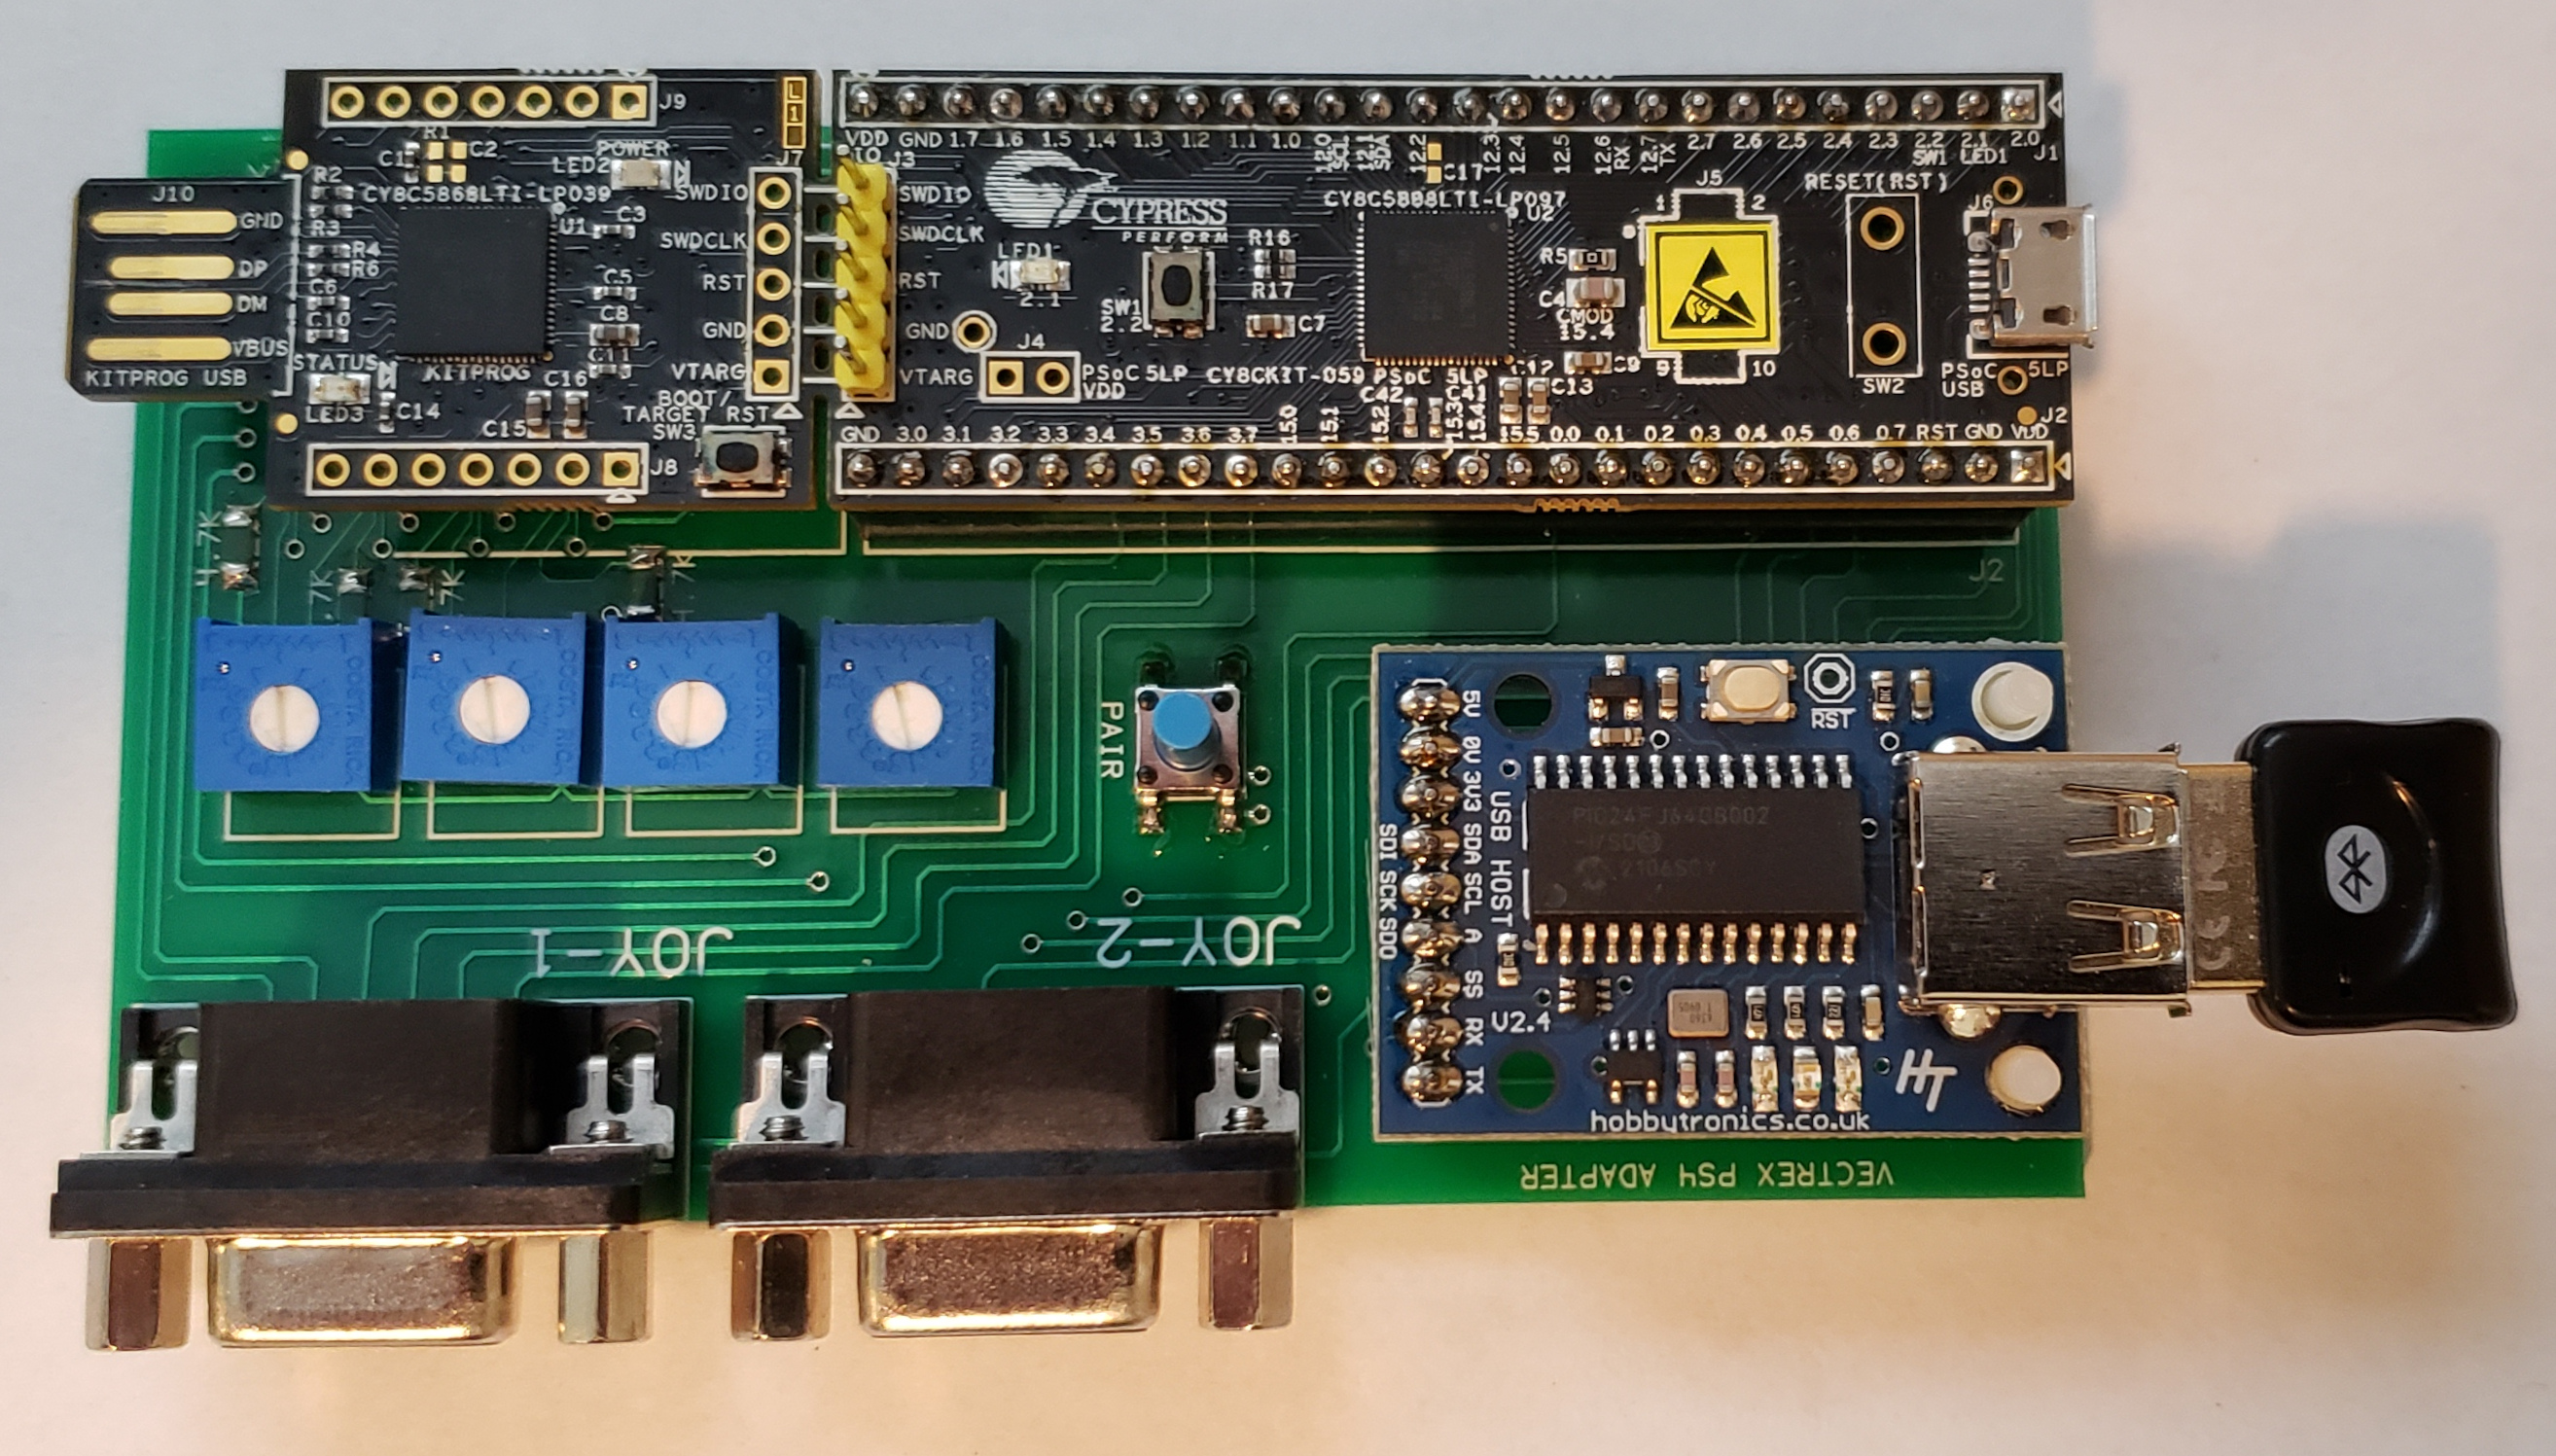
I used ExpressPCB to manufacture the board. Since I didn't really take the time to double and triple check everything I wasn't expecting it to work out the box. So, I broke out the soldering iron and kept the spool of bodge wire close by. Much to my suprise, it worked first shot!
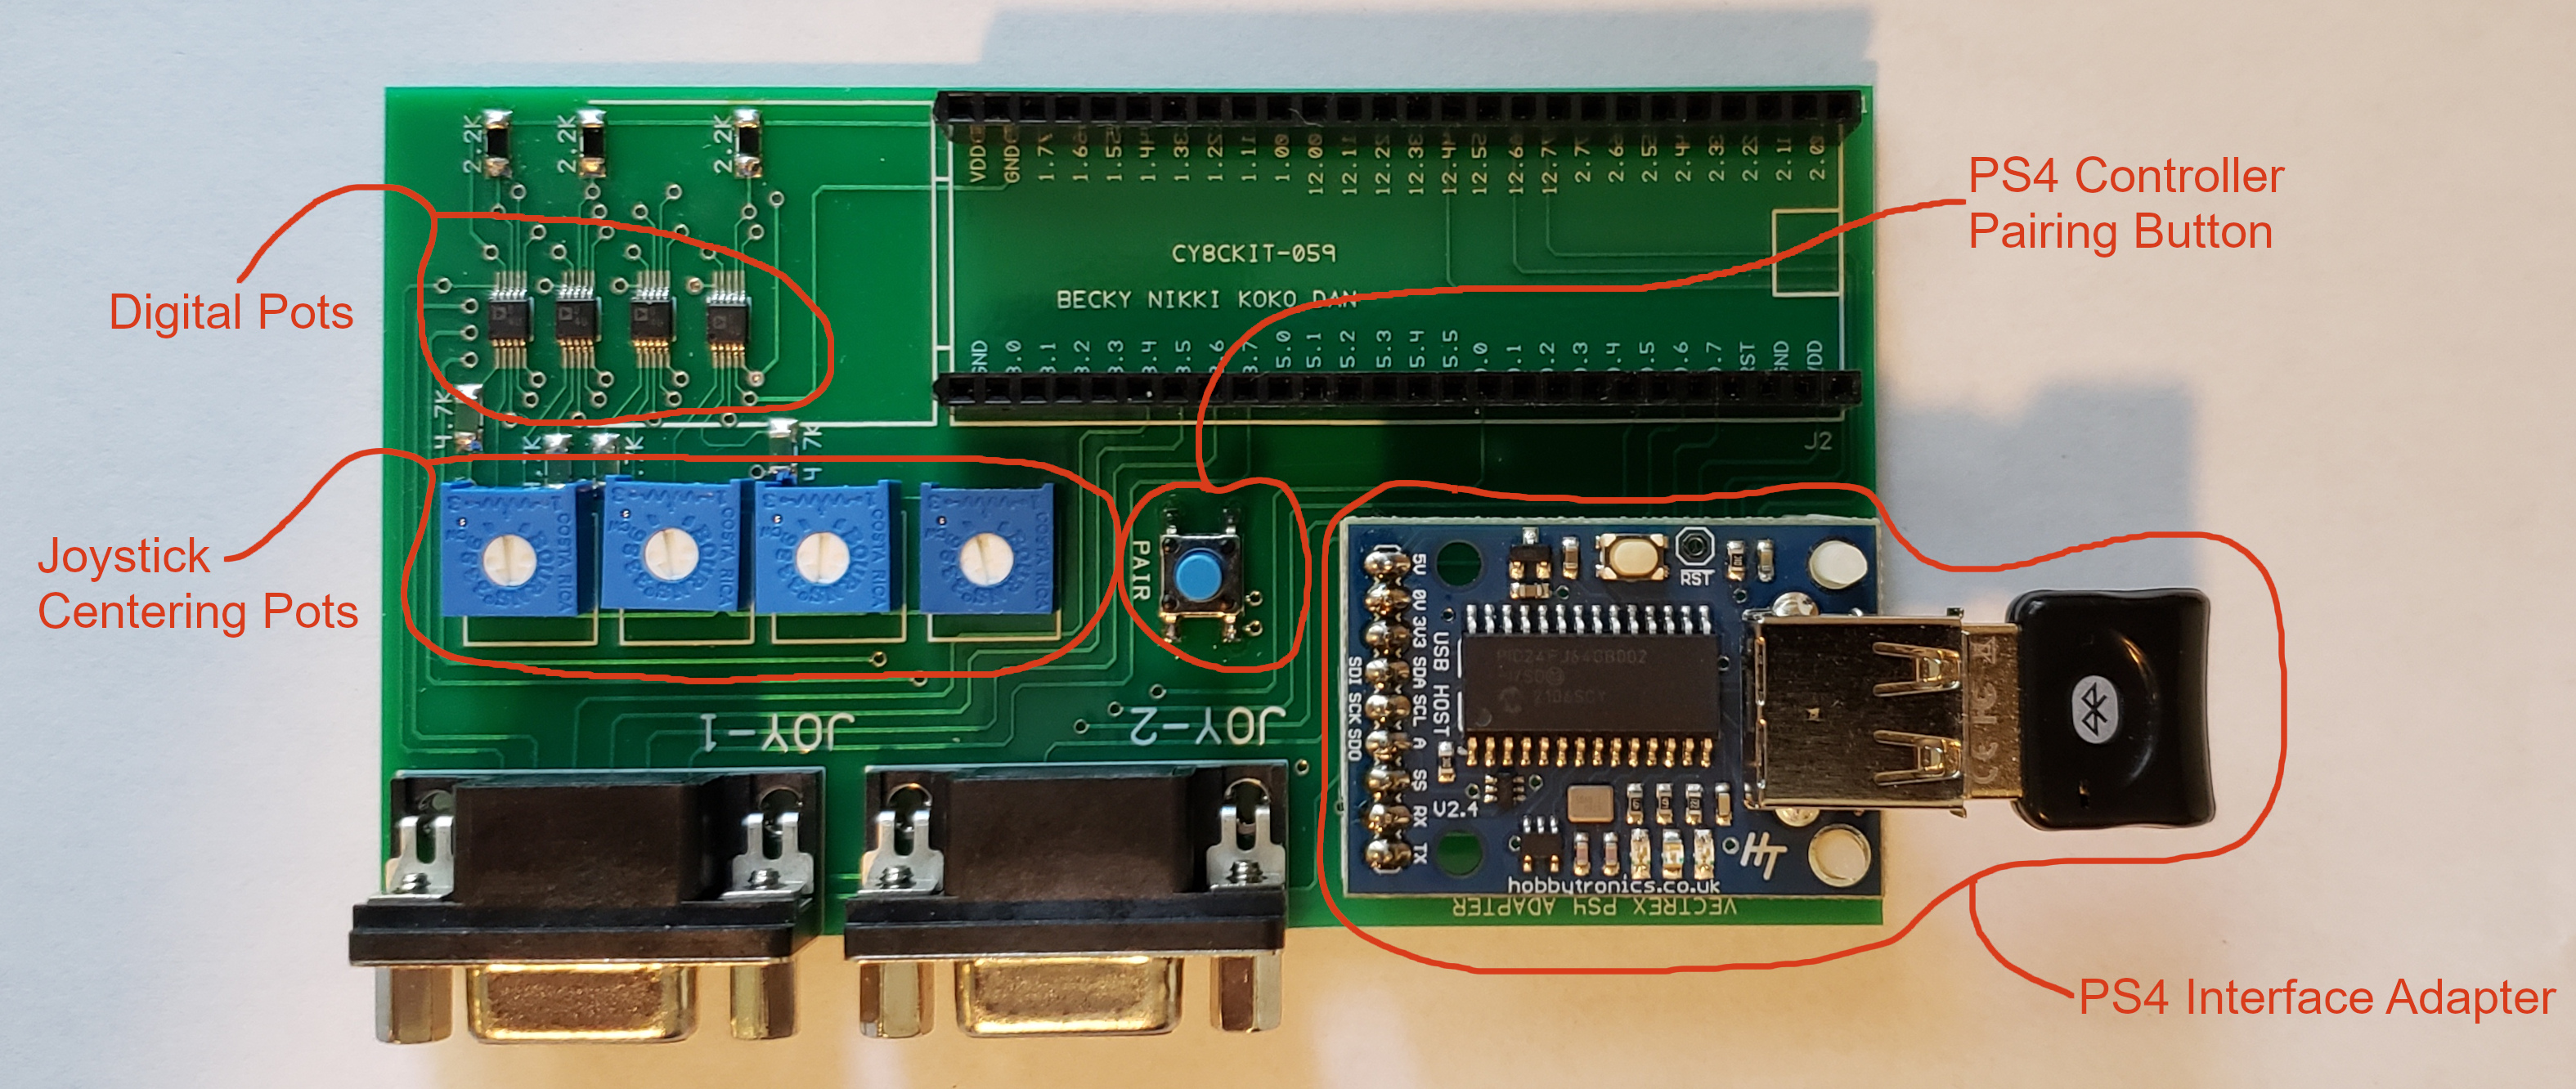
Soldering in those AD5290 MSOP-10 digital pot chips is always a bit unnerving. They cost $6.50 each and I ended up destroying one, which is rare but does happen on occasion.
I figure that, all together, the fully populated board ended up costing ~$200 to build. The PCB alone cost $100. I'm sure the costs could be reduced if they were bulk manufactured in China. When it comes to electronics, prototyping can get rather expensive.
IMPORTANT!!!!
Never connect the Vectrex to the adapter while either one of the USB cables are connected to the PSOC board. This is true whether the Vectrex is turned ON or OFF.
You've been warned.
After the board is all soldered up, the first order of business is to program the PSOC dev board. For that you'll need the project file that can be found on GitHub (HERE) and the PSOC Creator IDE (HERE). I won't go in to the details of PSOC Creator and programming a PSOC. However, the PSOC dev board includes a programmer (on the left side) that makes it rather self-contained. It's important to note that the USB-A connector (on the right) is not used for programming the micrcontroller. It is available to the programmer, and we'll use that to set up the Hobbytronics PS4 adapter board.
In any case, once you've loaded up the PSOC Creator project you'll need to build the project and program the PSOC board. When that is done, unplug the PSOC dev board from your PC.


Way back in 2016 I learned of a new Vectrex game that was coming out called Robot Arena. It was a Robotron type of game that used the same style of dual-joystick control. Since the PS2 was fairly easy to interface with, I decided to build an adapter for the Vectrex. The result can be seen HERE.
Fast forward to the summer of 2021, and as I was searching the internet for a keyboard adapter I happened across a PS4 adapter sold by Hobbytronics. I ordered one and waited for it to make its way from England (God Save the Queen!) to the Southwest Deserts of these here United States of America (USA! USA!).
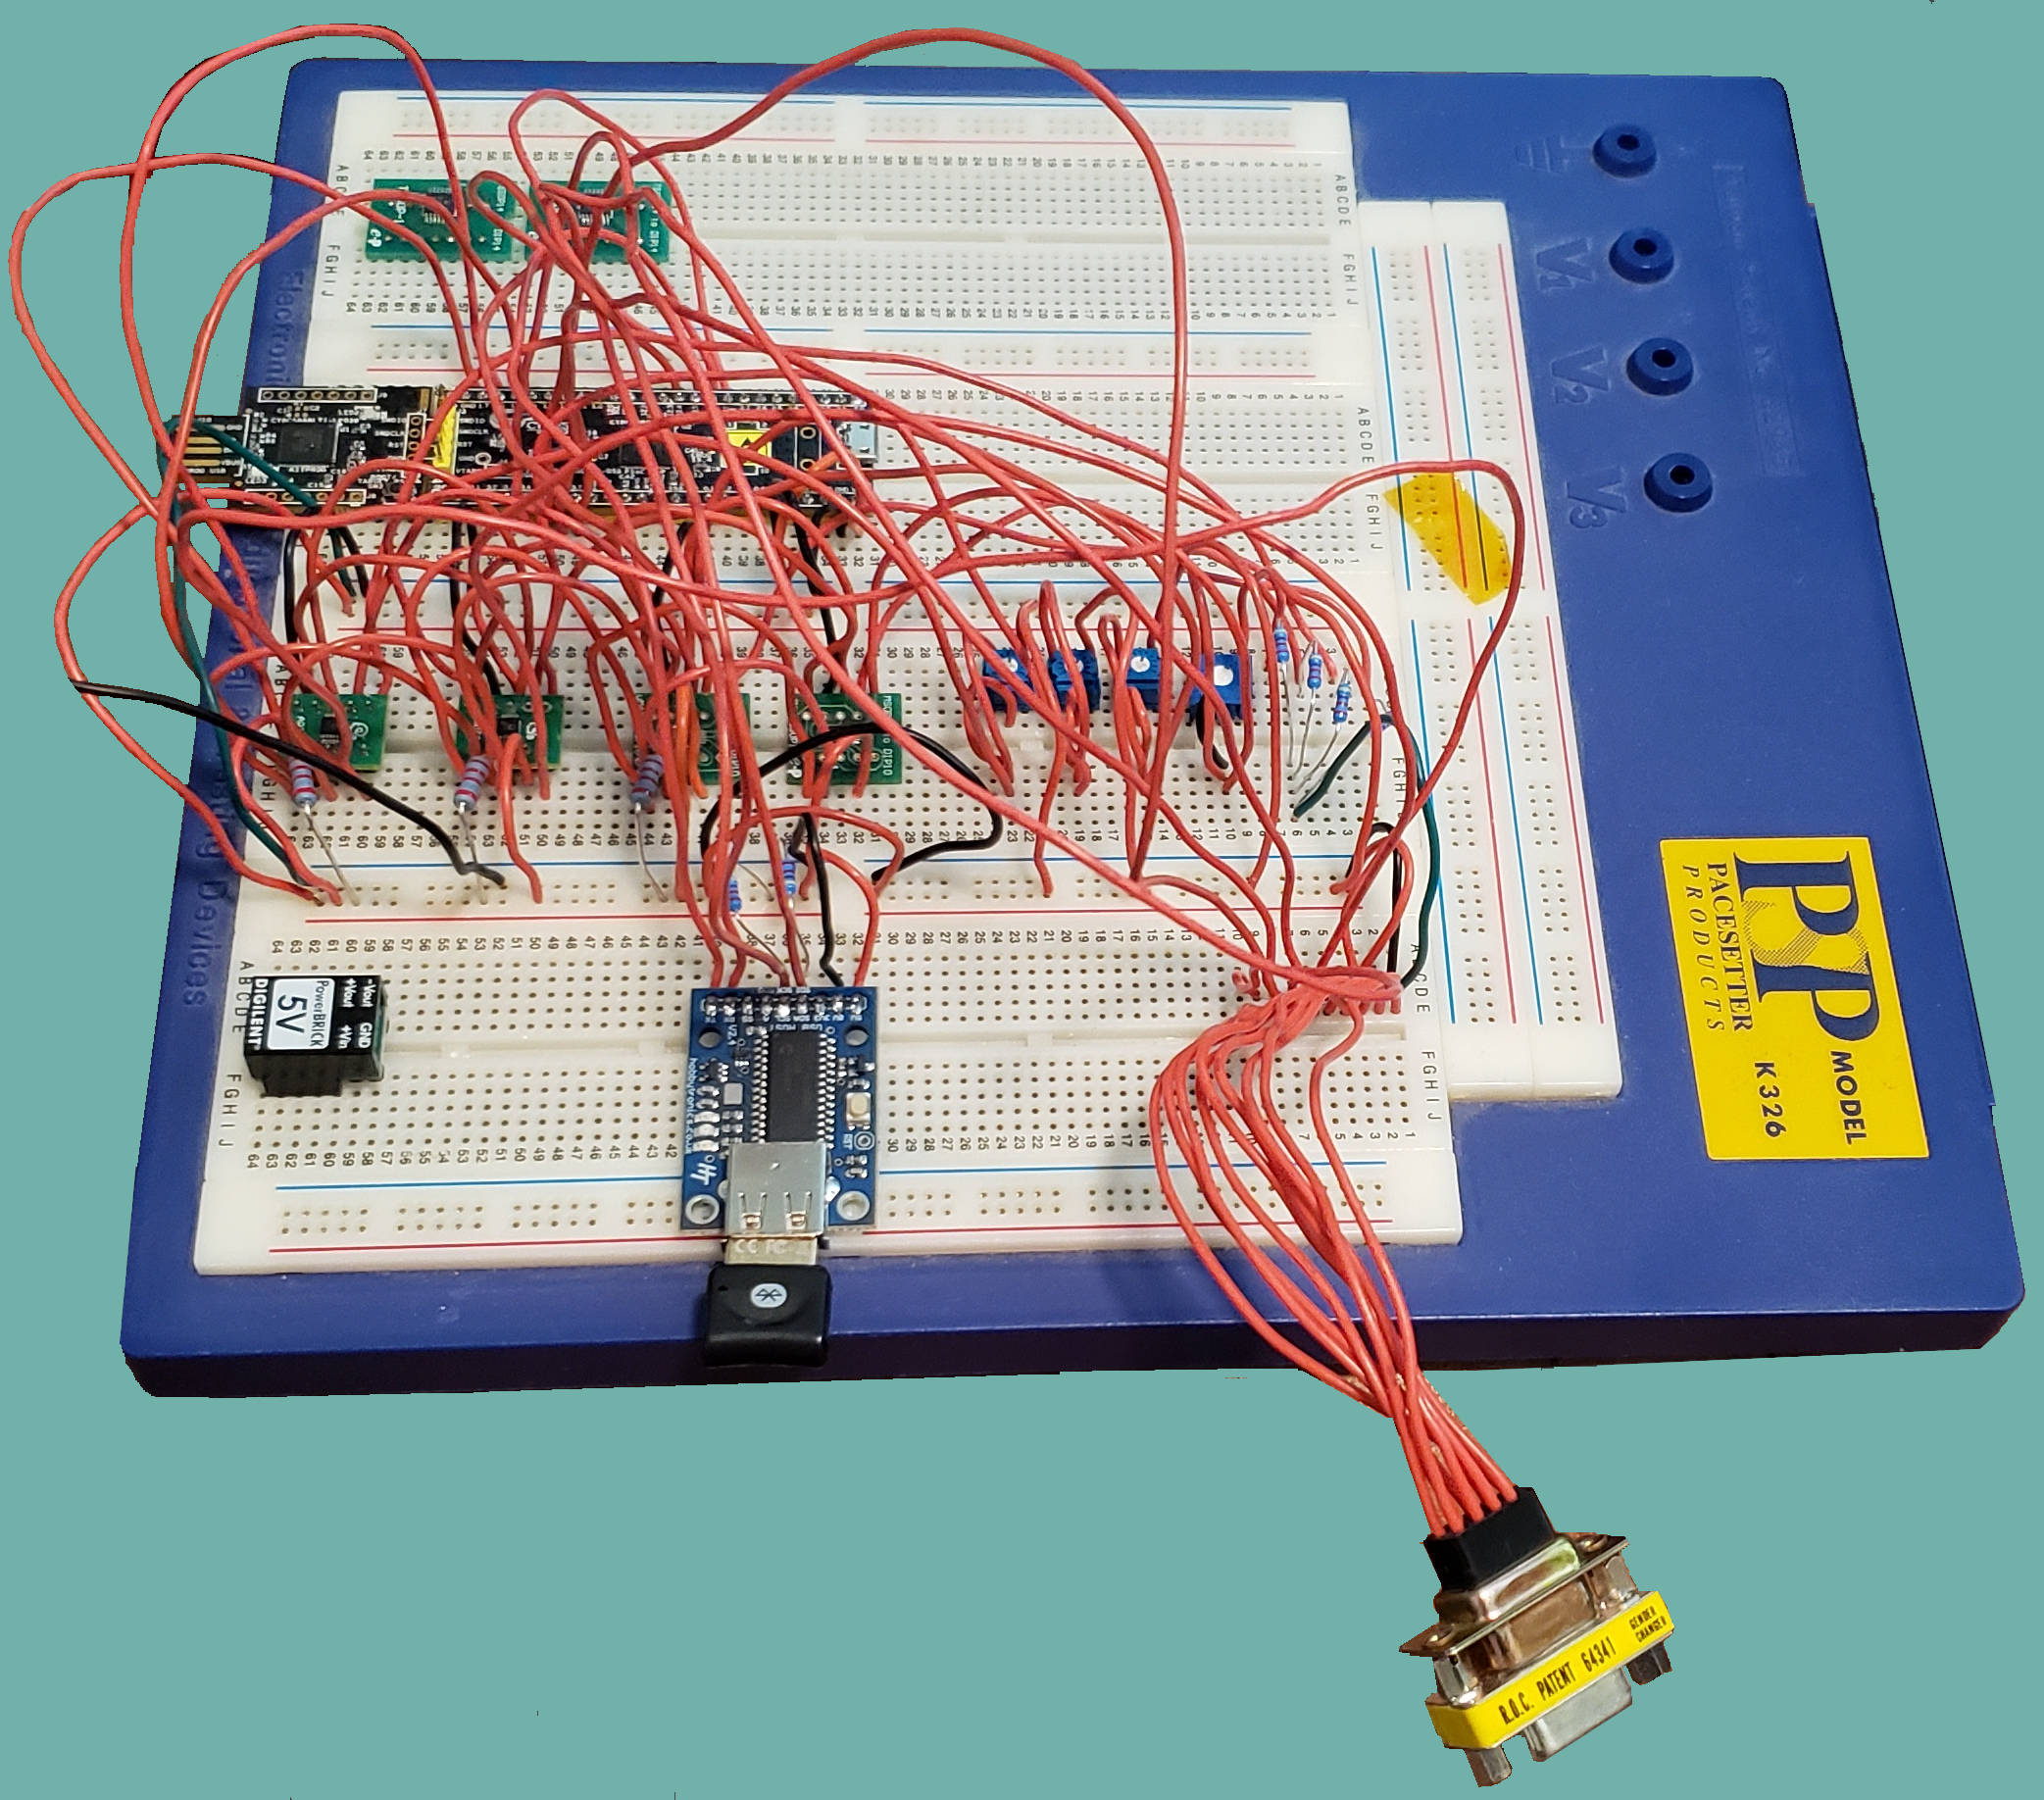
I then proceeded to build out a prototype.
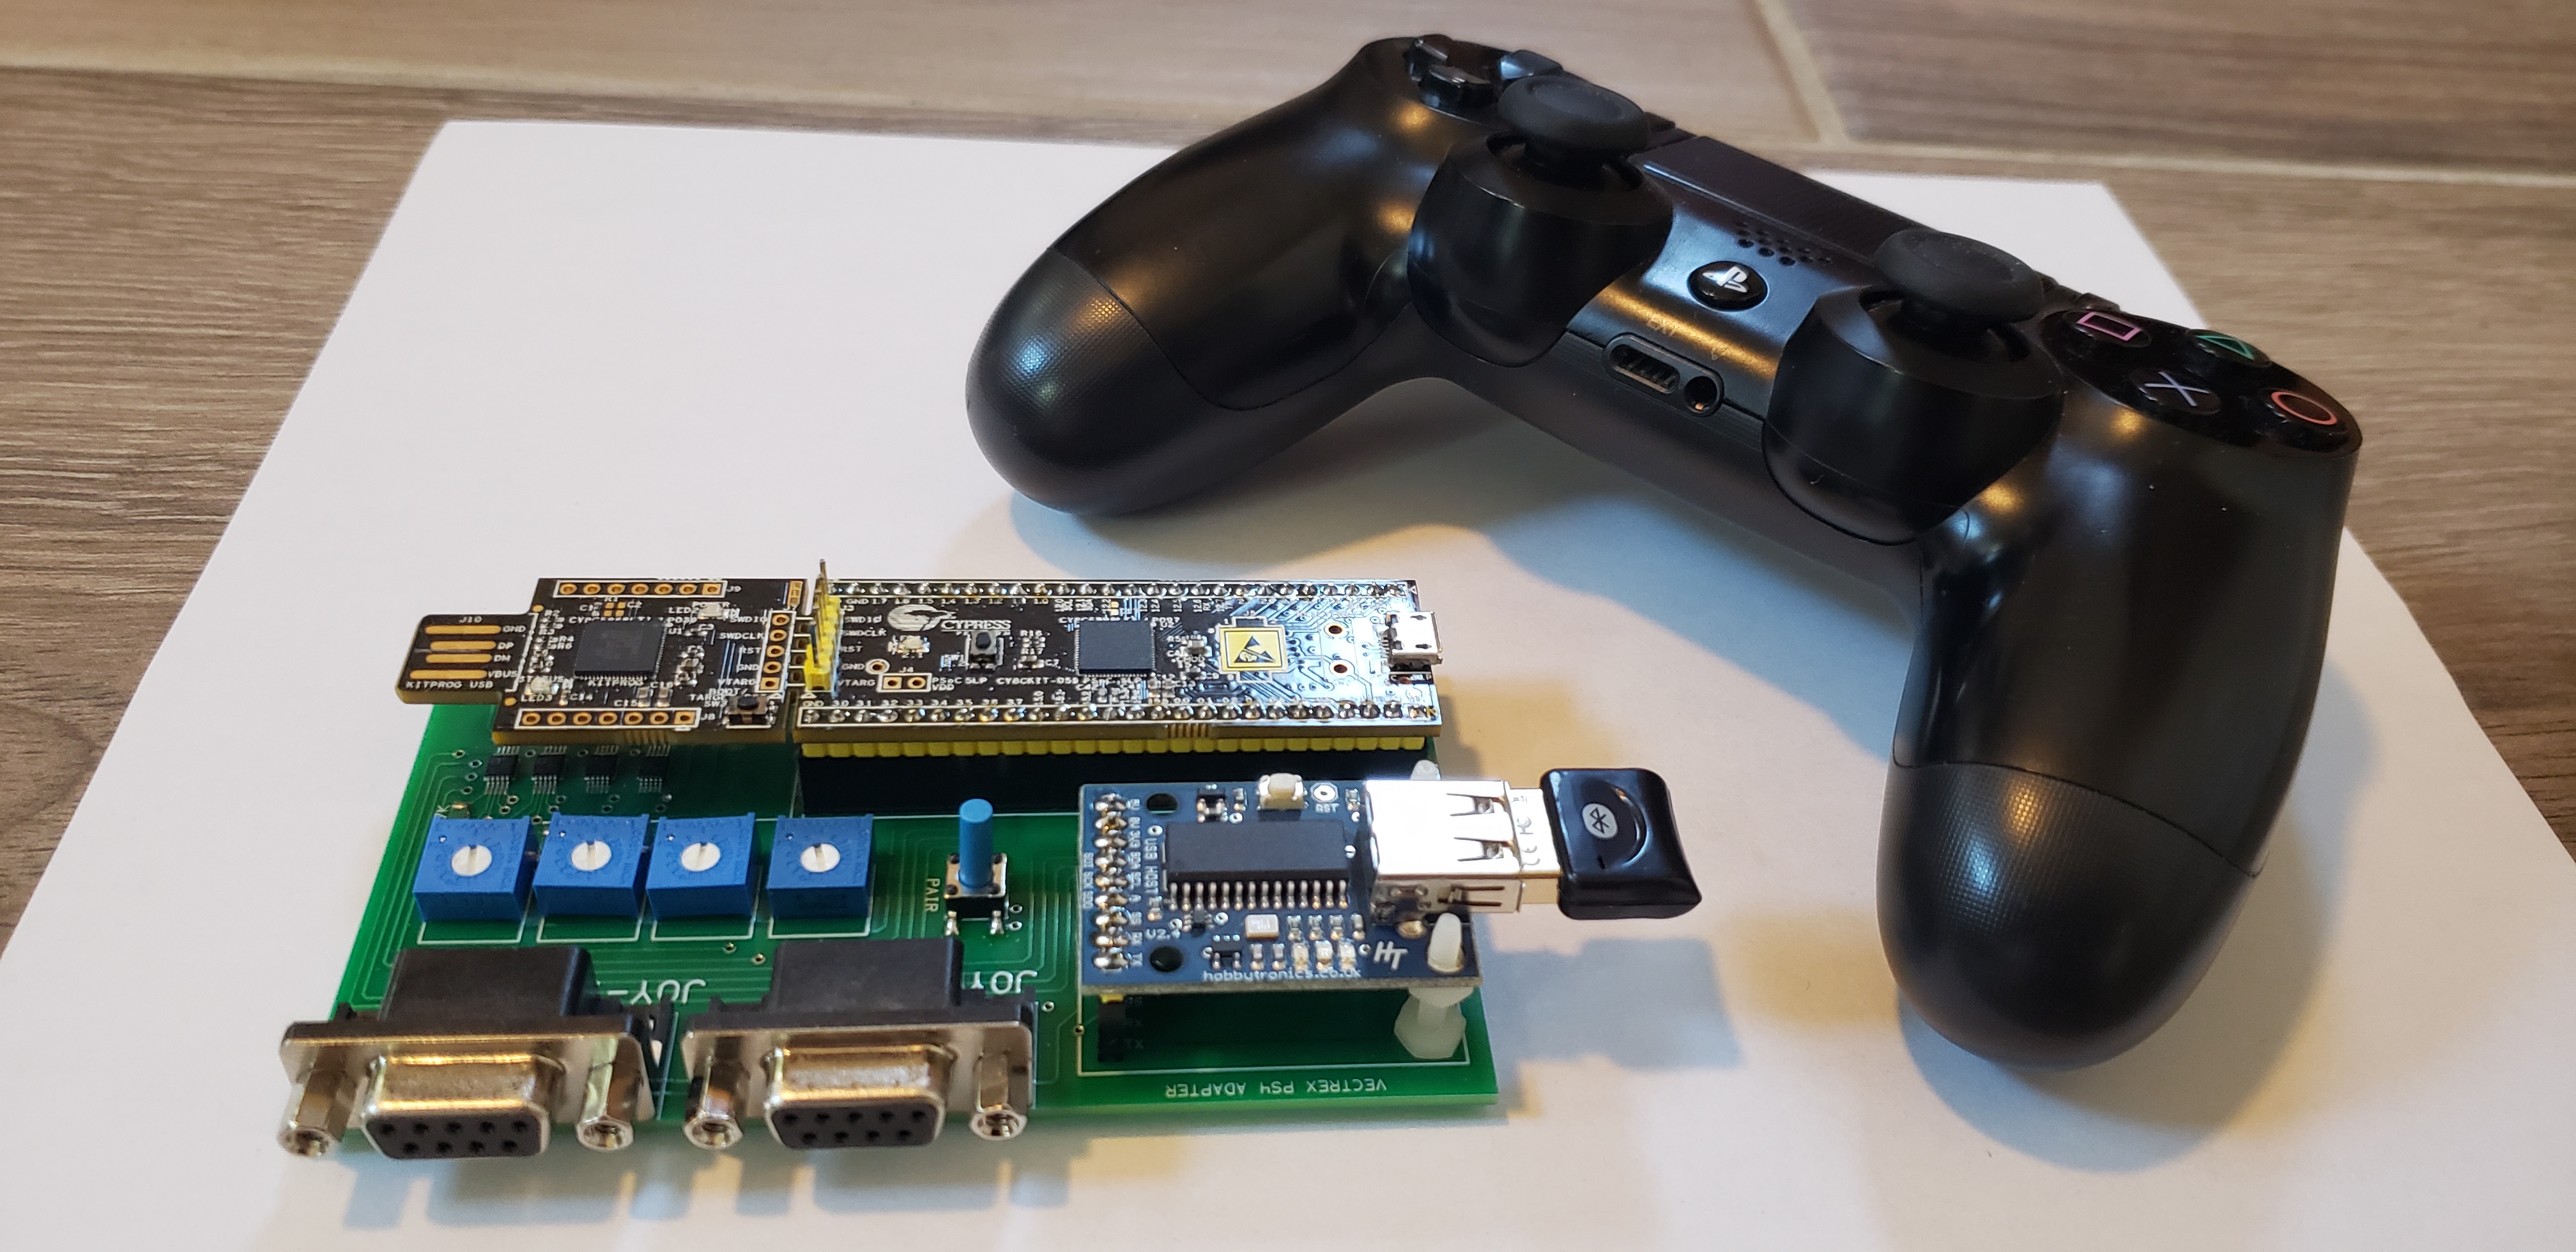
The circuit is fairly straightforward. The Hobbytronics PS4 adapter interfaces with a PSOC5LP microcontroller. The microcontroller then interfaces with four Analog Devices digital pots. These digital pots translate the PS4 joystick (and t-pad) data to the +- voltages that are sent to the Vectrex joystick pins. PS4 button pushes are sent to the Vectrex button pins on the joystick ports. The whole contraption is powered by the Vectrex.
There are four discreet 10K pots that allow for centering of the joysticks.
I didn't bother creating a circuit diagram but did design a PCB (hastily).
There are four discreet 10K pots that allow for centering of the joysticks.
I didn't bother creating a circuit diagram but did design a PCB (hastily).
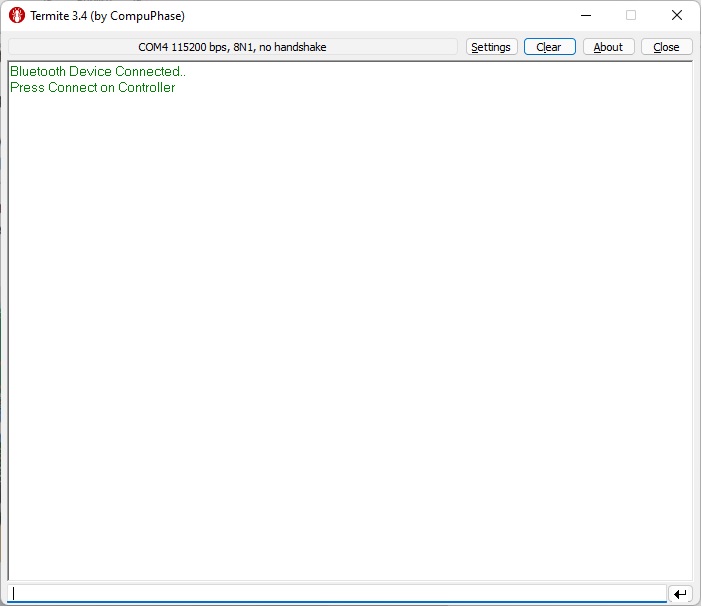
You're next step is to configure the Hobbytronics adapter. Do not plug the USB Bluetooth dongle into it just yet.
You'll need to install the PSOC dev board back on to the Vectrex PS4 Adapter and plug a USB-A cable from your PC to the USB-A connector on the PSOC board. We will be using this as a USB serial to TTL converter. We need to change a couple of configs on the Hobbytronics board and this can only be done through a serial connection.
Once the USB-A cable is plugged in, hit the small button that is in the middle of the larger section of the board. An LED on the board will start to blink. This tells you that you are in USB to serial transfer mode. Any data that goes over the USB connection (virtual COM port) will flow through to the Hobbytronics adapter. I did this to save time on having to use a separate USB serial to TTL converter.
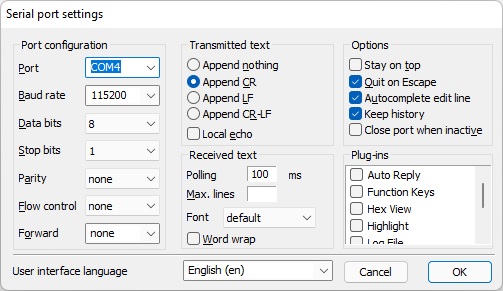
Now you need a Serial Terminal Emulator. For this you can use something like Termite.
The Hobbytronics adapter is set up to barf out a lot of data through its RS-232 pins. We don't want this because it may get in the way of data transfers between the Hobbytronics adapter and the PSOC board, which uses I2C.
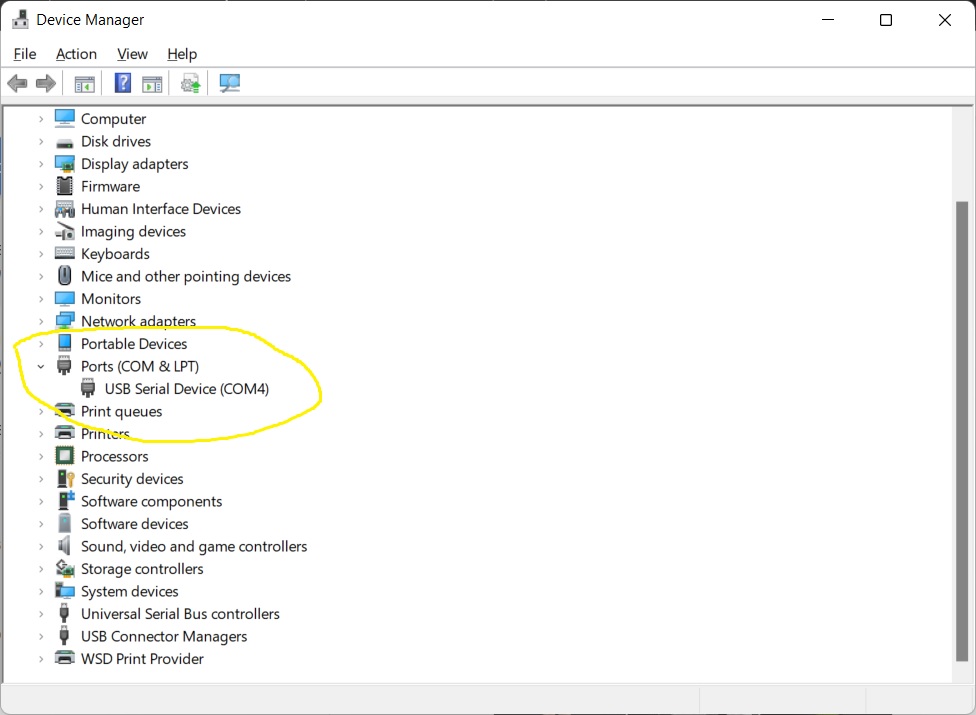
First, you'll want to find out what COM port number was assigned to the PSOC board after enumeration. You can look at the Device Manager info under "Ports (COM & LPT)".
